
I Made it Monday
Join me
on my ongoing quest to share tips, tricks, projects, and recipes along with
just about anything else on I Made it Monday.
Murphy’s Oil Soap to Clean Paint Brushes? Why not?
 |
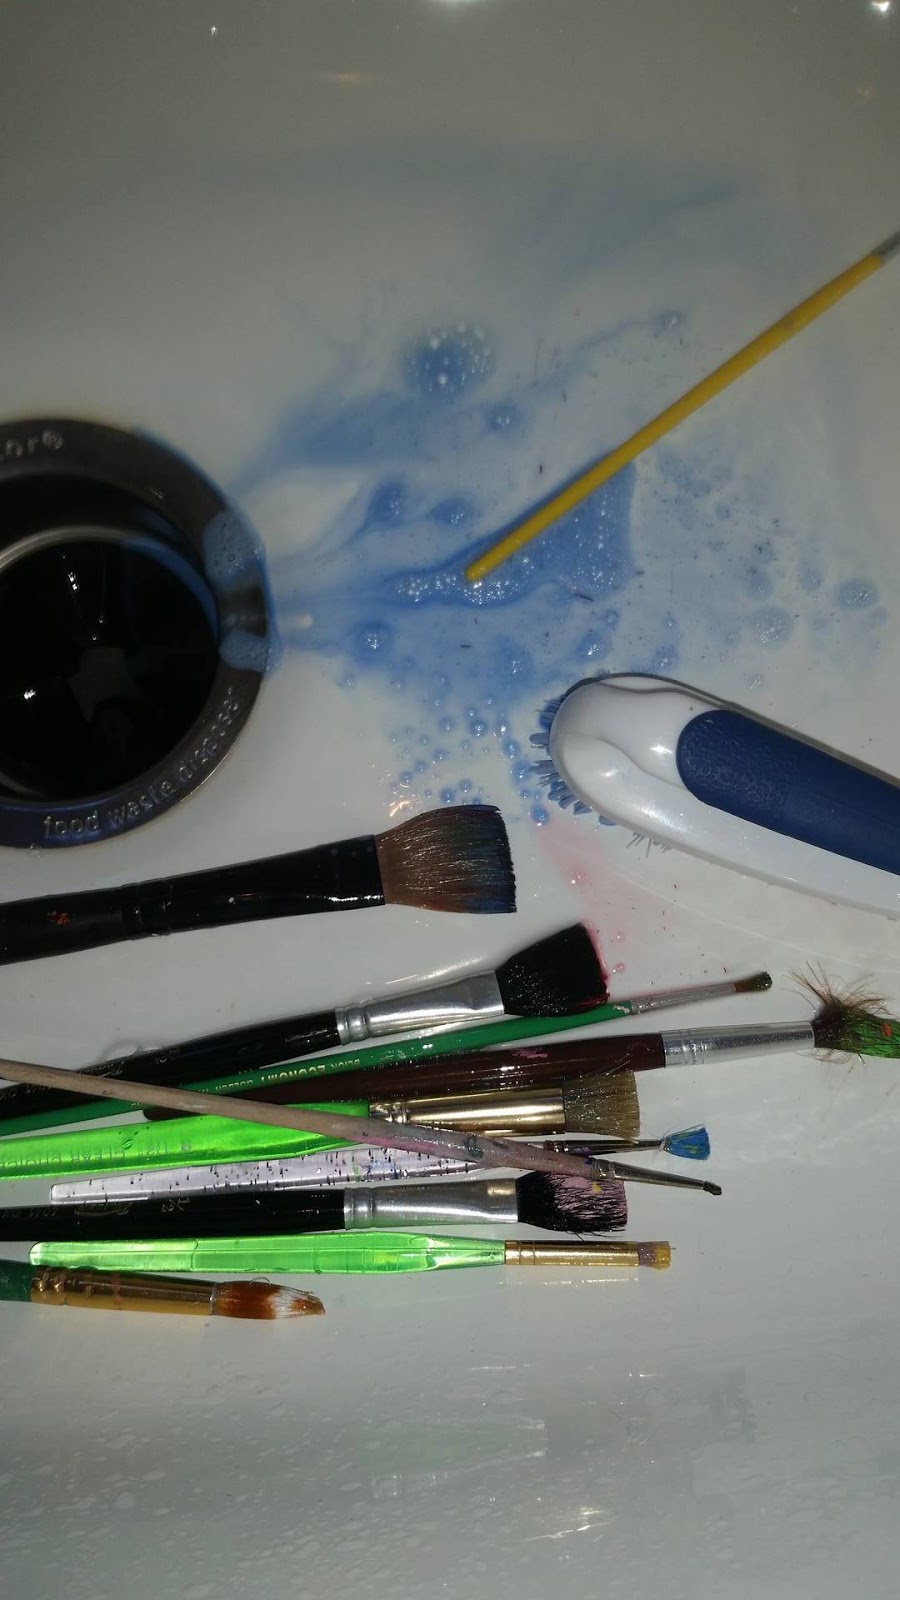
Do
you see my dilemma? The third one from the right was so full of white paint
that it felt like there was a pebble in the middle.
|
Supplies
· Murphy’s Oil Soap
· Crusty, dried up, neglected, hard as a rock paint
brushes
· A jar or cup for soaking (I used a mason jar)
· Fingernail brush or cleaning toothbrush
· Water
· Patience

Before
I started I was convinced that the paint brushes were headed for the trash and
only went through the effort of trying to clean them so I could say that I had.
I really didn’t see any other outcome in the cards and honestly wasn’t even
willing to put much effort into trying. They were bad! Rock hard, dried up,
felt like there was a rock in the middle of the bristles bad. I gave a quick
glance at Pinterest for ideas but I didn’t even bother to read them. That’s how
sure I was that these brushes had seen their last canvas. Since I saw a few
posts and pics mentioning Murphy’s Oil Soap I decided that would be my
halfhearted approach.

The
first time I soaked the paint brushes my mixture was approximately 1 part
Murphy’s Oil Soap and 3 parts water. You really only need enough liquid to
cover the bristles so don’t bother filling the jar as much as I did. Like I
said, my heart wasn’t in it so there wasn’t a lot of attention at the
beginning. After an overnight soaking I checked the brushes in the morning
expecting to find nothing better than I had started with. Boy was I wrong. I
rinsed the brushes, gave them a little scrub with my fingernail brush and
decided to soak them again with a higher concentrate. It was actually working.
The
second time I soaked them in a 1 to 1 mixture. After soaking for the day I
rinsed them that night and again, using my fingernail brush, scrubbed at them a
little, always in the direction of the bristles. About half of the brushes were
completely clean now. And let me be clear, when I say completely clean, I mean
there was no paint inside the bristles and the bristles were unbelievably soft.
I decided a third soaking was in order for those brushes that hadn’t quite
joined the clean team.
The
third time I soaked them it was in 100% Murphy’s Oil Soap overnight. The next
day I rinsed them and gave them some more love with the fingernail brush and
that was it. Viola! They were all clean. And not just clean, but clean and soft
and really like new. Better than new even. With their nicks and chips
on the handles my brushes looked like they had painted a masterpiece and
lived to tell about it.

Have
you tried Murphy’s Oil Soap to clean paint brushes or do you have another you
won’t believe it approach or use for Murphy's Oil Soap? If so, please share in the comments and check back
next week when I will share a slightly cheesy Valentine care package for my
oldest daughter that doesn’t contain a lot of junk or candy (it’s harder than
you think).
Be sure
to follow me on Pinterest, as well as Facebook,
and find my designs at Applique Time. Check back next week to see my
next I Made it Monday post.
Regards,
Bridgette

No comments:
Post a Comment