Showing posts with label teacher's appreciation. Show all posts

Monday, May 9, 2016

I Made it Monday Blueberry Cream Cheese Pound Cake

I Made it Monday

Join me on my ongoing quest to share tips, tricks, projects, and recipes along with just about anything else on I Made it Monday.

*This post may contain affiliate links, which means I receive a small percentage if you make a purchase using the link. For my full disclosure statement please click here.


Blueberry Cream Cheese Pound Cake

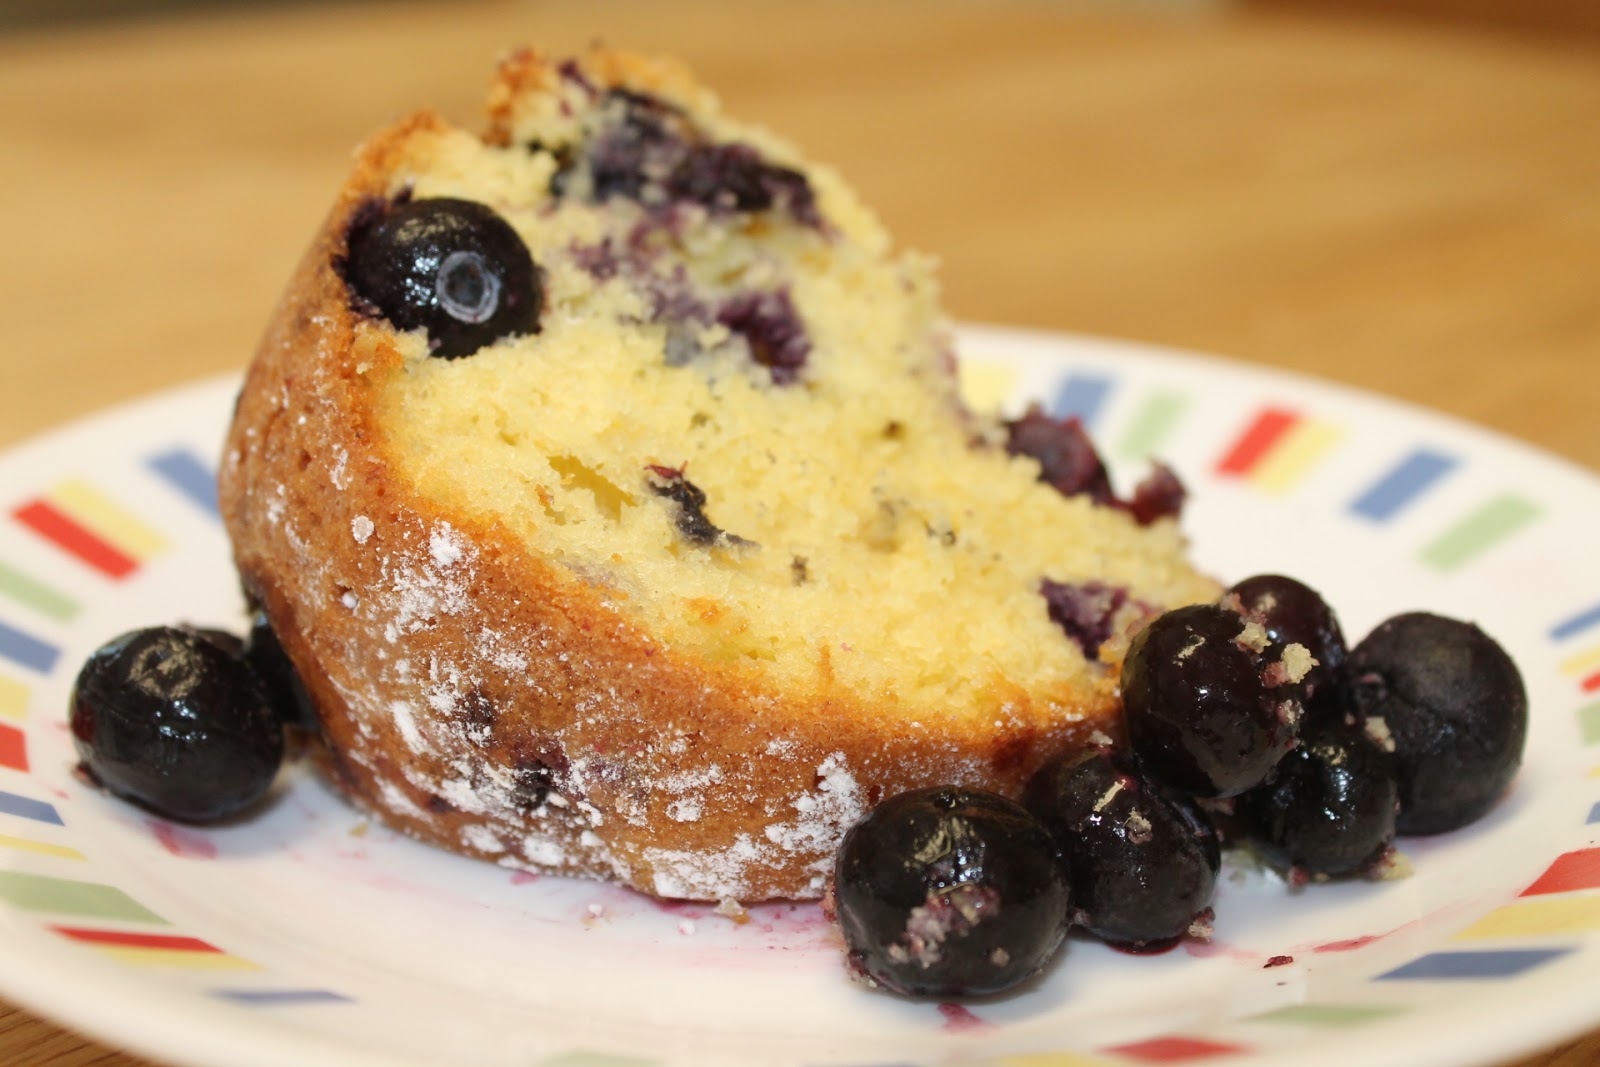
Last week I was asked to send in a dessert to be shared at a luncheon for Teacher's Appreciation week. I wanted to make something other than the usual fare of cookies, brownies, or cupcakes, so I decided to make Blueberry Cream Cheese Pound Cake. I originally got this recipe from Allrecipes.com at least 11 years ago and I've made it many times since then. I like to send it in for events to serve as a dessert or as a breakfast treat like it is regularly served in my house. Yes, I let my kids eat cake for breakfast. Blueberry cake. It's fruit, it counts. 


Ingredients
      1 package yellow cake mix (18.25 oz)
   1/4 cup white sugar
      3 eggs
      1 package cream cheese (8 oz) room temperature
   1/2 cup vegetable oil
      1 tsp vanilla extract
1 1/4 cups blueberries (I've used fresh and frozen)

1. Preheat oven to 325° F. 
2. Grease and flour a 10 inch Bundt pan.
3. In a large bowl, stir together the dry cake mix and sugar. Make a well in the center and pour in the eggs, softened cream cheese, oil, and vanilla. Beat on low speed until blended. Scrape the bowl and beat 4 minutes on medium speed. The mixture will be very thick. Fold in the blueberries and pour the batter into the prepared pan.
4. Bake in the preheated oven for 40 to 45 minutes, or until a toothpick inserted into the center of the cake comes out clean. Let cool in pan then turn out onto a cooling rack to cool completely.

A few notes ...

It almost always takes another 5 - 10 minutes in my current oven and took another 15 in my last oven. Don't be afraid if the toothpick doesn't come out clean right away.

It is a very thick mixture. If you added the correct amounts of eggs, oil, cream cheese, and vanilla you're good. I was worried that I missed a liquid ingredient the first few times I made it but I didn't. It's just that thick.

To prevent the blueberries from sinking you can coat them lightly with flour before folding them into the batter.

Don't be afraid to use extra blueberries. I have used up to a full pint and never felt that it was too much. Don't be afraid to use frozen blueberries either. 


My middle daughter helped take pics for this blog post. This is picture number twenty-two of this slice of cake. 22! Food is not photogenic people. We added the extra blueberries and a sprinkle of powdered sugar to enhance the image.
This is picture #1. Poor little piece of cake. Thank goodness for digital cameras. Can you imagine waiting for the film to be developed and seeing this?! Did I just give away my age?

Who will you make this cake for? Have any suggestions or ideas for making it better? Be sure to share in the comments and don't forget to follow me on Pinterest, as well as Facebook, and find my designs at Applique Time. Check back next week to see my next I Made it Monday post. 


Regards,

Bridgette 

Monday, May 2, 2016

I Made it Monday Easy Key Fobs Tutorial

I Made it Monday

Join me on my ongoing quest to share tips, tricks, projects, and recipes along with just about anything else on I Made it Monday.

*This post may contain affiliate links, which means I receive a small percentage if you make a purchase using the link. For my full disclosure statement please click here.
Easy to Sew Key Fobs


A while ago my mini me asked me to make her a key fob. We talked about what she wanted, measured a few scraps to her wrist to determine length, gathered the hardware and then ... nothing. All of the notes and ideas sat on a table in my craft room and waited. Like lots of other ideas, it got pushed to the back burner. Last week I finally sat down to work on it and here's what I came up with ...

Materials

  • 1/4 yard of fabric (fat quarters work fine)
  • Basic sewing supplies: machine, needle, thread, scissors, iron, ruler, you know, the basic stuff.
  • Fusible interfacing. I used fusible fleece for some and lightweight fusible interfacing for others. The thicker your stabilizer the stiffer your key fob. It is really a matter of preference and what you have on hand.
  • Key fob hardware. I used 1.25" hardware. You can find it at craft stores like Michael's and Joann or online in a variety of places. I bought mine from Amazon
  • Pliers to attach hardware and some kind of scrap fabric to prevent scratches.
After you have gathered your supplies your nearly halfway there. Seriously. These are super quick and easy. Not only did I make one at my daughter's request but I made extras for Teacher Appreciation Week, thank you gifts for Girl Scout troop leaders, Mother's Day gifts for my Mom and Gramma who love to get home made gifts, and I'm even planning to make some in school colors for my middle daughter's friends for their senior trip coming up next month. Cute, quick, easy. What more could you ask for?

Step 1.
Cut your fabric 10 1/2" x 5".


Step 2.
Cut your fusible interfacing 10 1/2" x 5". If you choose to go with a thicker fusible product like fusible fleece cut it 10 1/2" x 1 1/4". If you're unsure which you want to use keep reading. I made a few notes about my preference towards the bottom.

I cut a few different types of interfacing so I could test them. The left is standard lightweight fusible interfacing. The center is a fusible fleece cut to measure the entire fabric. The right is a quarter strip of fusible fleece.

Step 3. 
This step varies if you're using fusible interfacing or fusible fleece.

*If you're using lightweight fusible interfacing*
Iron the fusible interfacing to the fabric according to the directions. Once it is adhered, fold your fabric in half long ways, wrong sides together, and iron. 

With lightweight interfacing attached.
Fold in half long ways and iron.

Next, open the fabric and fold the sides in to the center crease creating a quarter fold. Iron again.


Then, fold the two halves together on the original crease and press.


*If you're using fusible fleece*
Fold your fabric in half long ways, wrong sides together, and iron.

Next, open the fabric and fold the sides in to the center crease creating a quarter fold. Iron again.

Then, tuck the strip of fusible fleece inside one of the folds you created by folding in to the center. Be sure to tuck the strip in as close as possible to the fold. Attach the fusible fleece according to the directions. 


Then, fold the two halves together on the original crease and press.

Step 4.
Sew a few straight lines. Top stitch the long sides about 1/4" from the edge. I prefer to sew the creased side first then the side with the two folds together. I find that it helps prevent any possible shifting.

I prefer to use the red notch on my foot as a guide.

Step 5. 
Attach the hardware. To prevent scratches on your hardware you'll want to put something between the hardware and your pliers. I actually use a scrap of fabric that also serves as my pressing cloth. Fold the key fob strip in half so that the raw edges are together and place them between the "teeth" in the hardware. I prefer to hold it in my hand sandwiched in between my scrap of fabric. That way I can see the sides and be sure that it isn't shifting and still clamp it closed. If you're having problems with shifting you can also pin the sides together to prevent any shifting while you clamp it. This was by far the hardest step, especially trying to photograph it, but once I found what worked for me it was easy to clamp them all in just a few minutes. After you have clamped it shut the last thing to do is attach the key ring.


It's very hard to take a picture of something that already requires two hands. Just imagine my other hand holding the pliers.

* A note about stabilizer*
I had several types of stabilizer on hand so I tried a few different kinds, standard lightweight fusible interfacing like what is used in collars on clothing, fusible fleece (Pellon 987F), and Peltex Ultra Firm Stabilizer (Pellon 72F). In the end I felt the Peltex Ultra Firm was too firm. The fusible fleece is great if you want a little more stability but only when it is used as a small strip. I tried it covering the entire rectangle of fabric and it seemed to thick. The standard lightweight fusible interfacing was the easiest to work with in my opinion and provided a similar result to the strip of fusible fleece. My only concern is that it may not wear as well the fusible fleece and may soon be limp and lifeless. In the end I prefer the strip of fusible fleece. 

* A note about hardware*
If you bought 1" hardware you'll need to cut your fabric 10 1/2" by 4" and cut your fusible interfacing the same for lightweight or 10 1/2" by 1" for fusible fleece.


Who will you make a cute key fob for?

Be sure to follow me on Pinterest, as well as Facebook, and find my designs at Applique Time. Check back next week to see my next I Made it Monday post. 

Regards,

Bridgette